NOTE: This tutorial was originally specifically intended to accompany our Bad Wolf Costumes ENT jumpsuit sewing pattern, but you may, of course, adapt it to other existing patterns or even use it as a basis for drafting your own if you wish.
On our ENT jumpsuit pattern, unless otherwise noted, all pattern pieces have a ⅝" seam allowance! The exceptions to this are the sleeve and leg hems, which are 2 ⅝", and the waist straps, which we'll cover later in the tutorial.
NOTE: As you may recall from our ENT jumpsuit analysis, these jumpsuits were made with the fabric "wrong side out" - that is, with the "wrong" side of the fabric being used for the exterior of the garment!
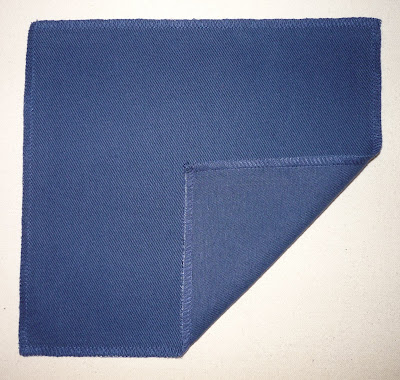
The "right" side of denim typically possesses a strong diagonal weave, whereas the weave's effect is significantly more subdued (and different-looking) on the "wrong" side:
|
|
 |
| Right side up |
For the duration of this tutorial, we will be swapping the terms so that we'll be using them in context of this uniform, so when we say "wrong side" we mean the side with the strong diagonal weave (usually referred to as the "right side"), and when we say "right side" we mean what's usually the underside of the fabric.
In other words, just flip the fabric over and use the opposite side, following the directions and doing everything else just as you normally would.
First, cut out all the pieces as indicated on the printed pattern.
TIP: If you're using cotton twill for your division stripes (which we recommend), for the best results, cut them on the bias! This will help them better conform to the gentle curve of the stripes' shape (especially the lower edges).
Then serge every edge of every piece except the division stripes (piece I).
Yes, serging every edge of every piece is a lot of work, but it's necessary and well worth it!
(Technically, some edges don't need serging since they'll be entirely enclosed, such as those of the waist straps, sleeve cuffs, leg cuffs, collar, and collar facing, but we like to serge them anyway, both for consistency and so minimize in fraying/unraveling during the construction process.)
For your convenience, we have included several alignment guides on our sewing pattern - perhaps most notably the division stripe alignment guides. These are paper pieces for reference only and not intended to be cut from fabric.
Align the three corners of the guide with the corresponding marks on the front and back body pieces.
Along the lower and centermost edges, either lightly trace the edge of the guide with tailor's chalk (testing on a scrap first to be sure it steams away, of course!) or mark the edges with basting thread.
Also mark the front alignment guide, which is on the actual front body pattern piece (piece B).
TIP: This line is 3 ⅝" away from the center edge, so if you wish you can simply use a see-through quilter's ruler to draw the line.
Lastly, stay-stitch the neckline ½" from the edge on the front body (piece B) and back body (piece C) pieces.


No comments:
Post a Comment