
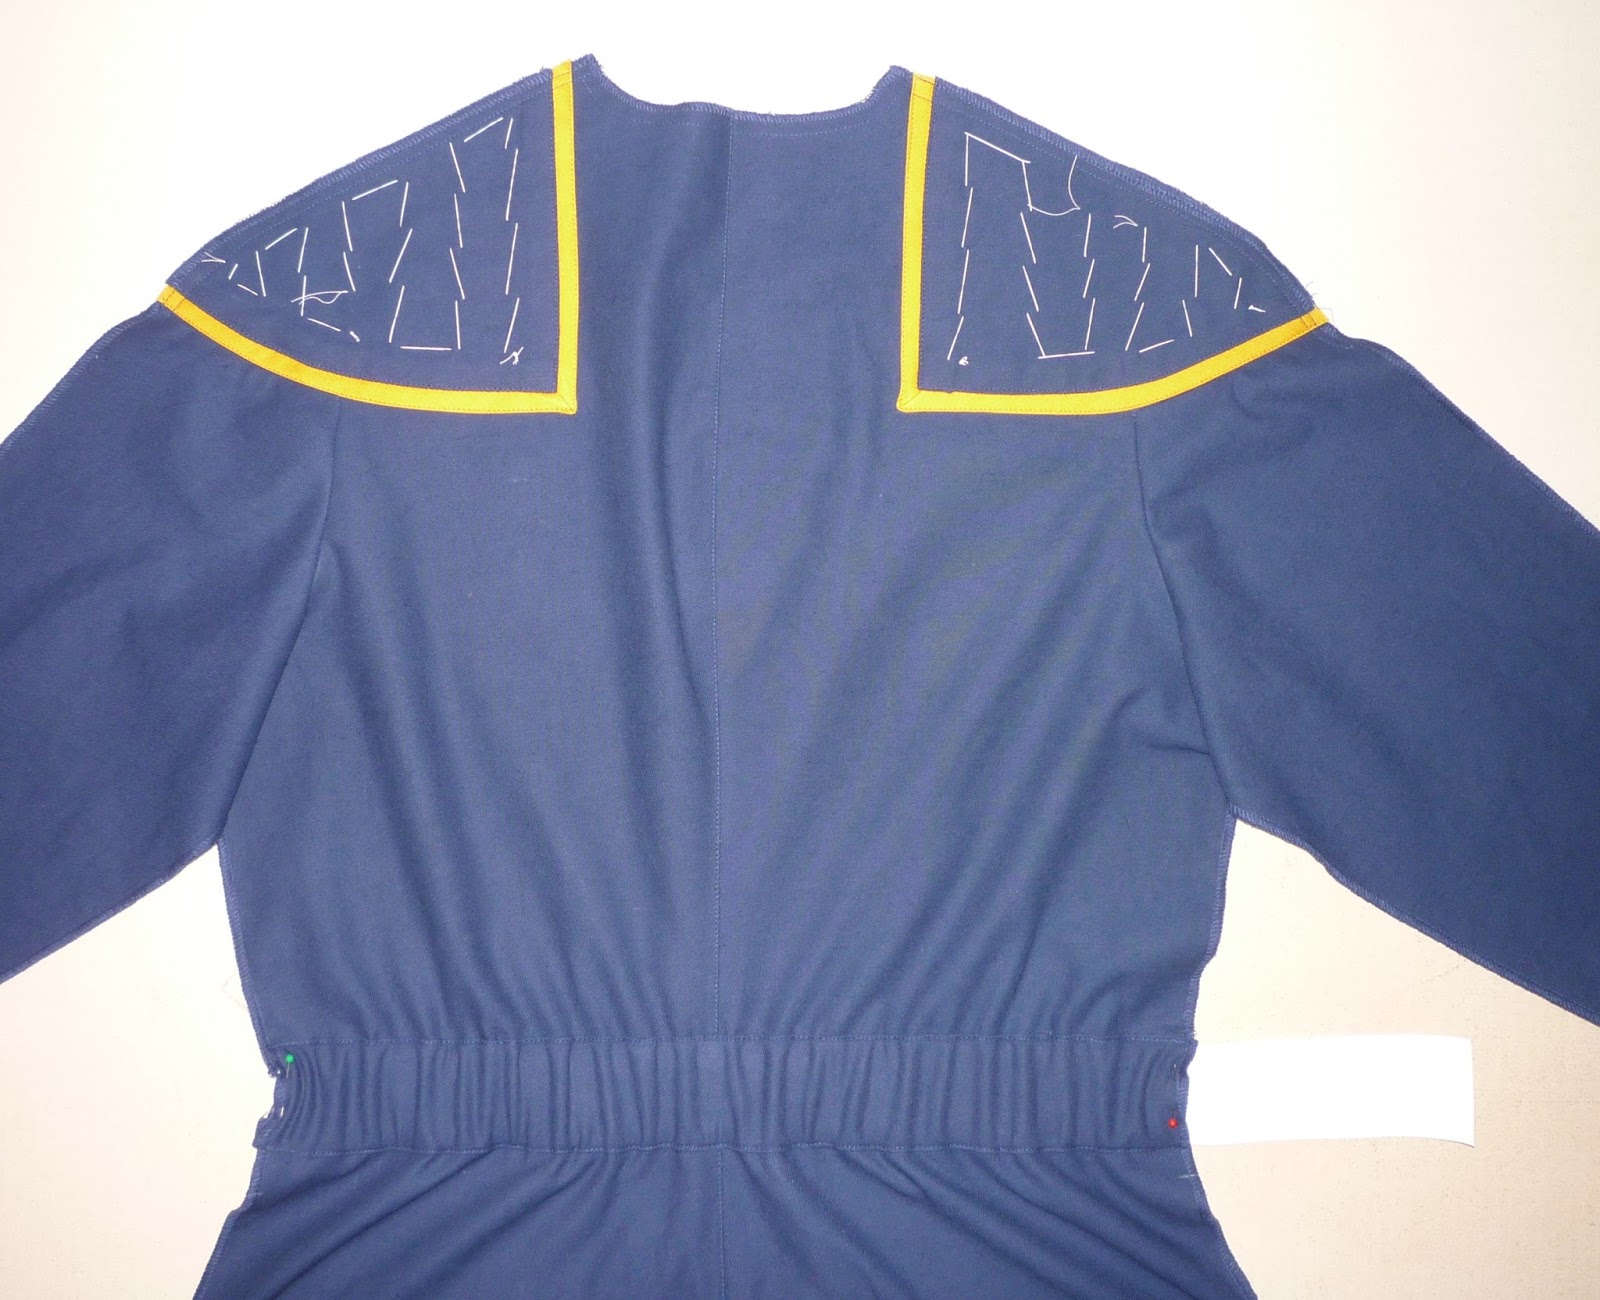
Sew the two center backs (piece C) together along the center back.

Press the center back seam allowances to the left.


TIP: Since the pattern's center back is tapered slightly to fit the wearer (i.e. it's a curved edge rather than a straight vertical one), we've found it tremendously helpful to use a tailor's harm to press the center back seam allowances!
From the right side/outside, edge stitch the seam allowances to the left.

In the manner of your choice (we like tailor's chalk), mark the back elastic waistband placement.

TIP: The placement is marked on the printed pattern piece's edges, but we like to connect these edges with a ruler so we have a complete guide for attaching the waistband!
Press the upper and lower hems under on the back elastic waistband channel (piece N).

We also like to mark the (horizontal) center of the waistband for additional reference.

Cut a length of elastic slightly longer than the waistband - about 1" longer on each end will do.

If you already know how much elastic you need for a comfortably-fitting jumpsuit (and you know because you made a muslin test or three first, right?!?!?), mark the appropriate length of elastic.
If you're unsure, the formula we recommend starting with is: your waist measurement minus 19".
For example, if you have a 36" waist, use a 17" length of elastic as a guestimated starting point and mark the elastic accordingly. (Don't worry, you'll get to adjust it later if needed!)

Thread the elastic into the underside of the channel so it's "sandwiched" underneath the upper and lower hem allowances.

As you may have noticed, the channel is slightly taller than 2"; this is to accommodate the 2" elastic, plus leaving a little room for edge-stitching and accounting for the "turn-of-cloth" factor.
With the elastic still "sandwiched" inside the waistband hems, pin the waistband to the back body assembly along the alignment guide(s) you marked, with the elastic "overhanging" the channel on each end.
(We find it much easier to simply attach the waistband with the elastic already inside than threading it in later.)

NOTE: The alignment guides on the printed pattern are 2" apart, but as noted previously, the waistband is slightly taller than 2", so the upper and lower edges will slightly overlap the chalk guides! Regard these lines as stitch lines.
TIP: Pin the elastic into place on each end to prevent any accidental "slippage." (You don't want to have to fish inside for that elusive end of elastic that got pulled inside the channel ... ugh.)

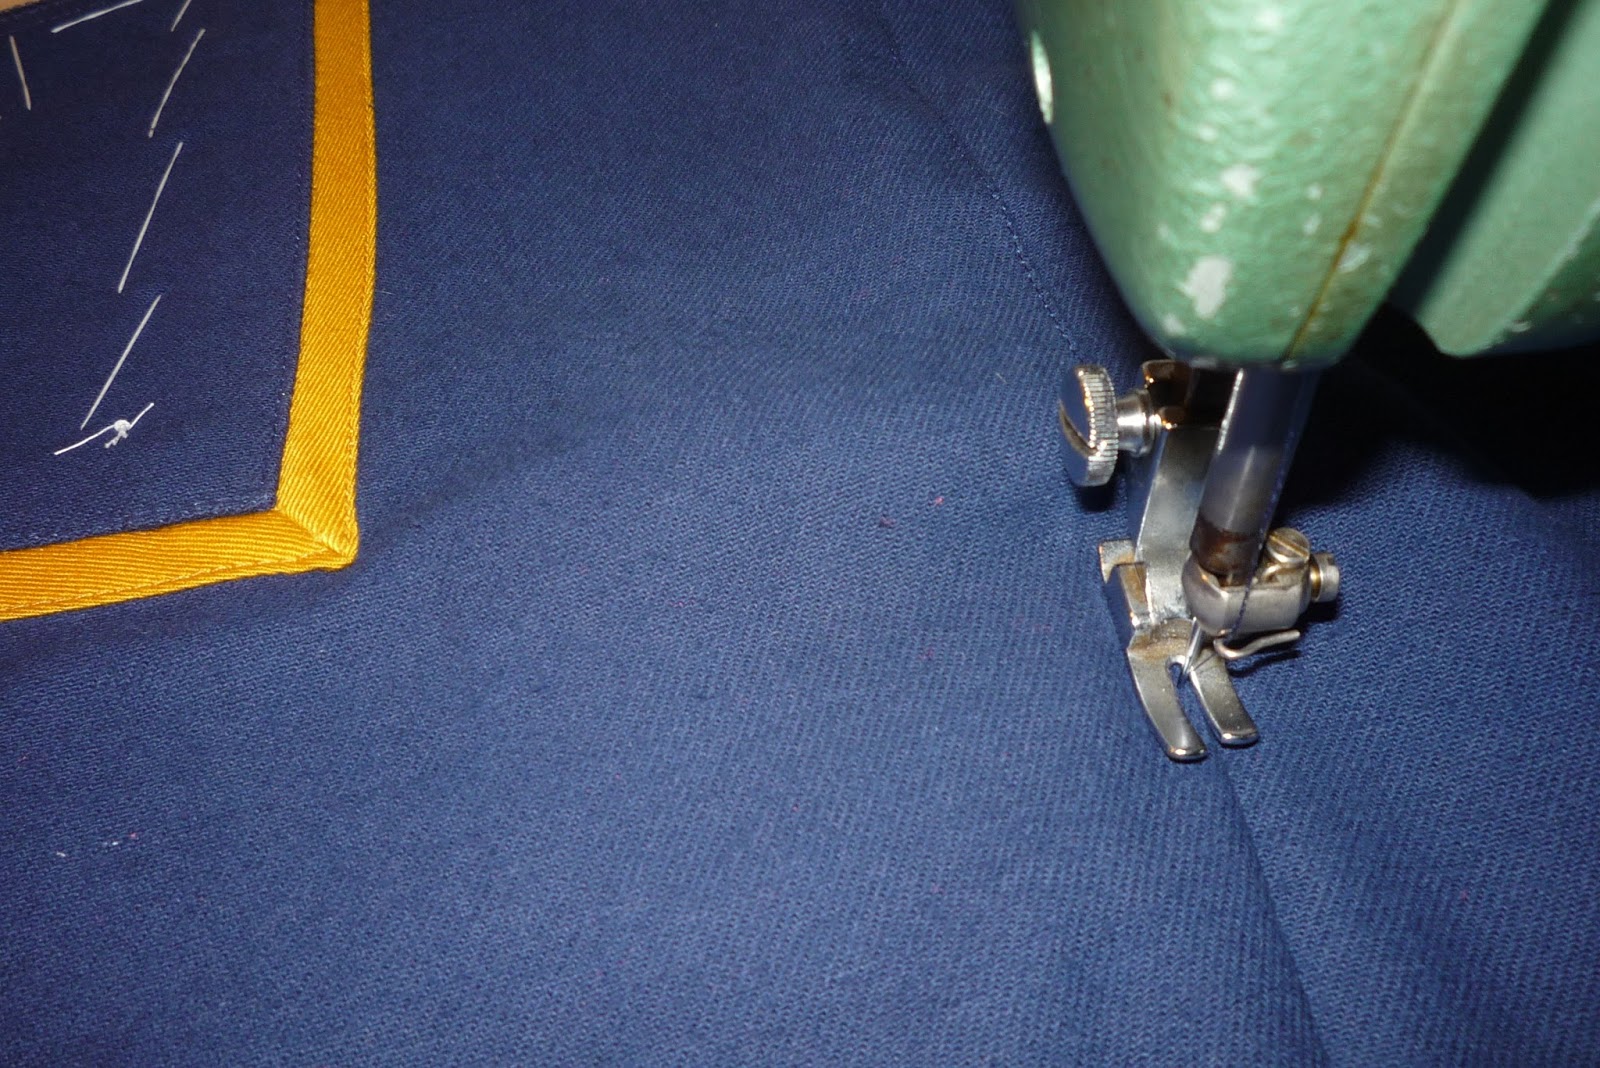
Edge-stitch the waistband to the back body assembly along the upper and lower edges, taking care to sew the waistband only and not catch the elastic in the stitching.


This final step is optional and only recommended if you have a good idea of how much elastic you need to achieve a comfortable fit around the waist.
(If you don't, no problem! You can simply stretch it to comfort near the end of the construction process and secure it then.)
Pull the elastic so its unmarked end is flush with the side edge of the back assembly and pin or sew it into place.
Stretch the opposite end until the fitting mark is flush with the opposite side edge of the assembly and pin into place.
Sew the elastic into place within the side seam allowance on the first (unmarked) edge if you didn't already.
If you're really sure about how much elastic you need, sew the opposite (marked) end into place and cut off the excess.
If you're pretty sure but want to leave a bit of room for adjustment, baste the elastic into place along the marked end, then cut off the excess elastic about 1" past the side edge (leaving that inch for potential fitting later).


No comments:
Post a Comment