
Place the two front body pieces on top of each other, right sides together and edges flush.


Cut off the excess zipper tape at the top of your front zipper, above the zipper stop, then apply liquid fray preventer to the top edges.
 |
 |
Place the zipper on top of the front pieces along the center edge, with the top of the zipper flush with the top edge of the body/neckline.
 |
 |
With your tailor's chalk, mark the zipper a little above the metal zipper stop at the bottom - about ½". (The idea is to make sure it gets sewn in beneath the bottom of the front zipper opening.)
Likewise mark on the front body pieces.

Pin, then sew the two front pieces together along the center edges, from the crotch up to the chalk mark.


The center front seam allowance is the standard ⅝", but as the zipper opening is ½", the front allowances will need to be widened by ¼" on each side.
To accomplish this, first make a mark ⅞" from and parallel to the center front edge near the previous mark.
(That's ⅝" seam allowance plus an additional ¼" for the zipper opening.)

Next, diagonally clip the seam allowances above the previous stitch line to the point at which the two marked lines intersect.

Press these "triangles" downward.

Press the center front edges (above the diagonal clip) under ⅞".


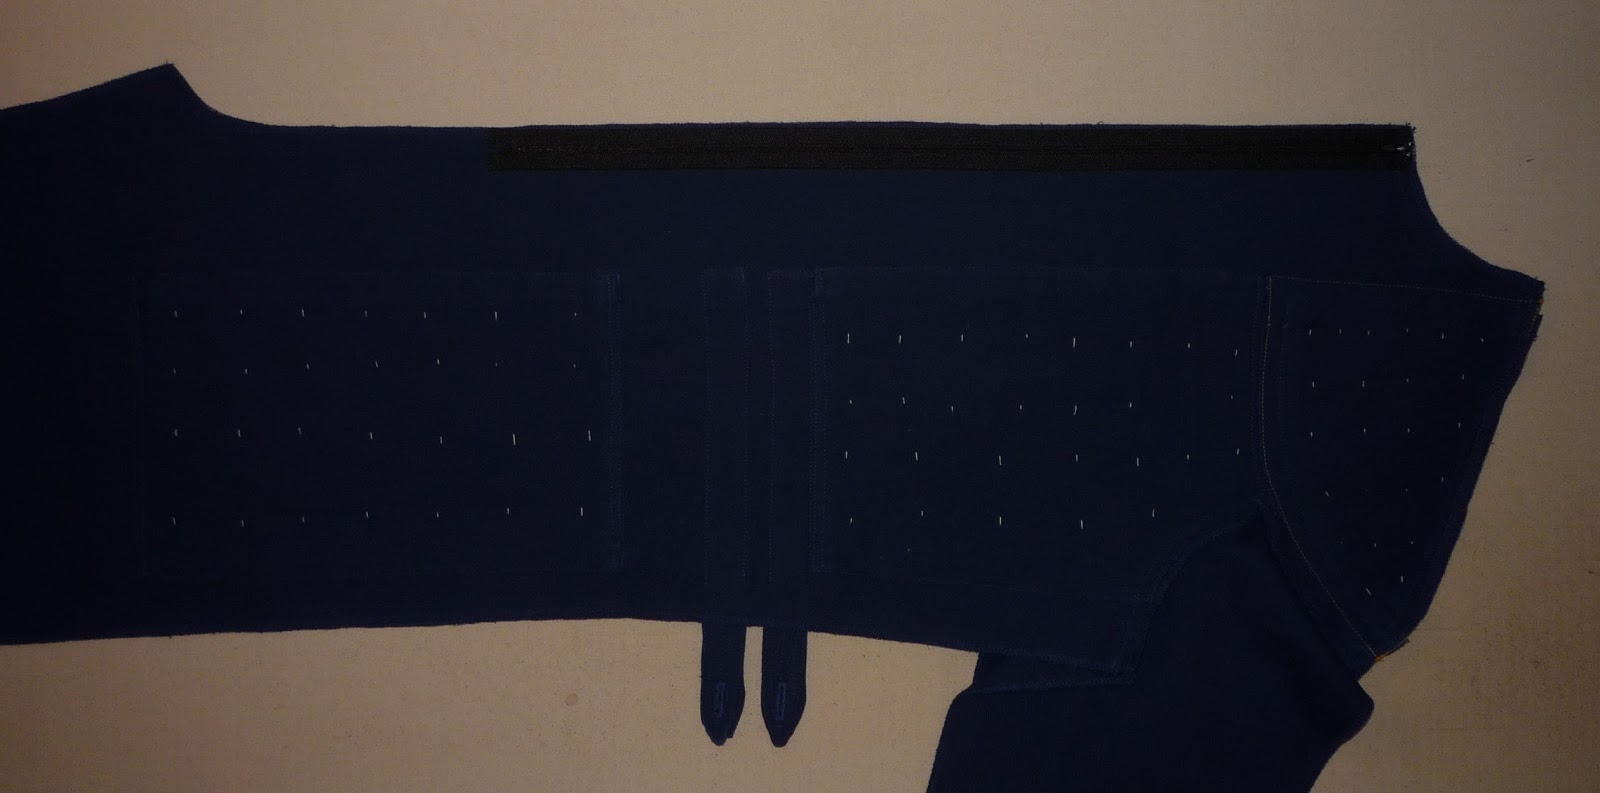
The lower front of your zipper opening should look like this:

TIP: Those little "triangles" can be a little fussy, so you may wish to baste or sew them into place by hand.
As done previously with the chest and thigh pocket zippers, position your jumpsuit's front zipper appropriately - that is, horizontally centered between the edges of the opening, with the top of the zipper flush with the top of the front/neckline edges of the jumpsuit. The bottom of the zipper (and the metal zipper stop) should extend slightly past the bottom of the opening.
 Also as with the chest and thigh pocket zippers, we highly recommend using ¼" double-sided tape to help hold the zipper in place and prevent any fabric pulling! In fact, we believe it's probably more important to use it on this zipper than any of the others on the entire uniform (except, perhaps, the sleeve and leg zippers)!
We also like to pin the zipper into place for additional stability.

Edge-stitch the zipper into place around the entirety of its perimeter.
Turn the front assembly over (right side down).
The front facing (piece F) will be attached to the center front/zipper opening seam allowances.

Turn the front facing (piece F) over so it faces the opposite direction (its right side to the jumpsuit's wrong side) and position it so its centermost edge is flush with the edge of the jumpsuit's center front/zipper opening seam allowance.

Fold the two layers upward and pin them together from the "wrong" side - that is, the underside of the center front/zipper opening seam allowances.


Using your zipper/piping foot, sew the facing to the center front as closely to the previous stitch line as possible. (This will be just shy of ⅞" from the edges.)

Once attached, the underside of the center front/front facing assembly will look like this:

Open the jumpsuit back up again (wrong side facing upward).

Press the facing away from center.
Note that the facing "overlaps" the chest pocket and waist straps slightly. (It may also slightly overlap the centermost upper corner of your thigh pocket, depending on your physique and where you positioned it.)

This may surprise you (if you haven't read a word of this tutorial and just happened to randomly skip ahead to this page), but we recommend tailor-basting the facing to the front body of the jumpsuit.

From the right side, at the centermost upper and lower corners of the chest pocket, edge stitch again over the previous stitching (along with the ¼" topstitches), this time securing the facing to the underside of the jumpsuit body.
Also edge stitch the centermost edges of the waist straps.
Then hand-sew the facing to the jumpsuit body underneath the chest pocket, being careful to only stitch through the innermost jumpsuit body layer, not through the entire pocket!

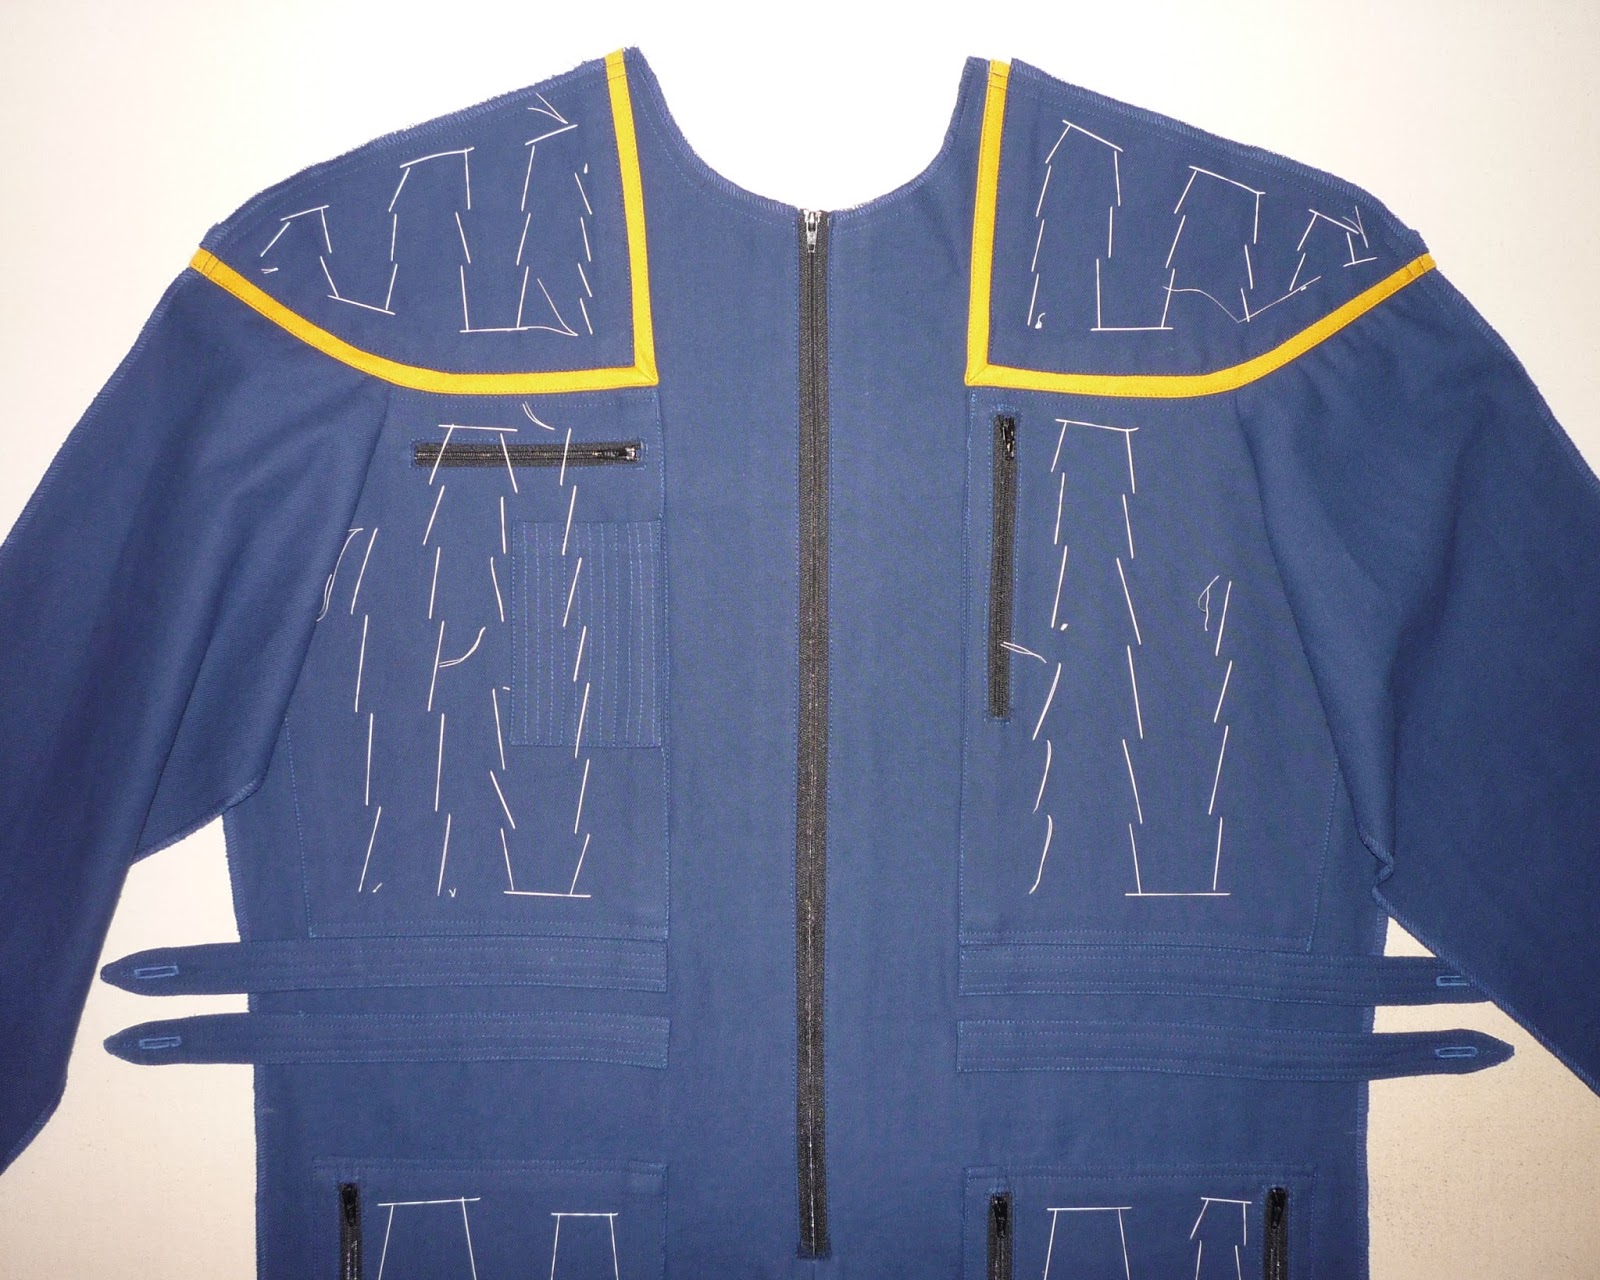
 Here are some close-ups of the edge-stitching and topstitching that fasten the facing to the jumpsuit body.
Repeat for the other side.


Your front assembly should now look something like this:

PREVIOUS: Tutorial, part 9 - Division Stripes
No comments:
Post a Comment