
With the exception of the second zipper, the left thigh pocket's construction and attachment is identical to that of the right thigh pocket's, but in the interest of thoroughness we will walk you through it here.
Install the left thigh pocket zippers as per our zipper installation tutorial.

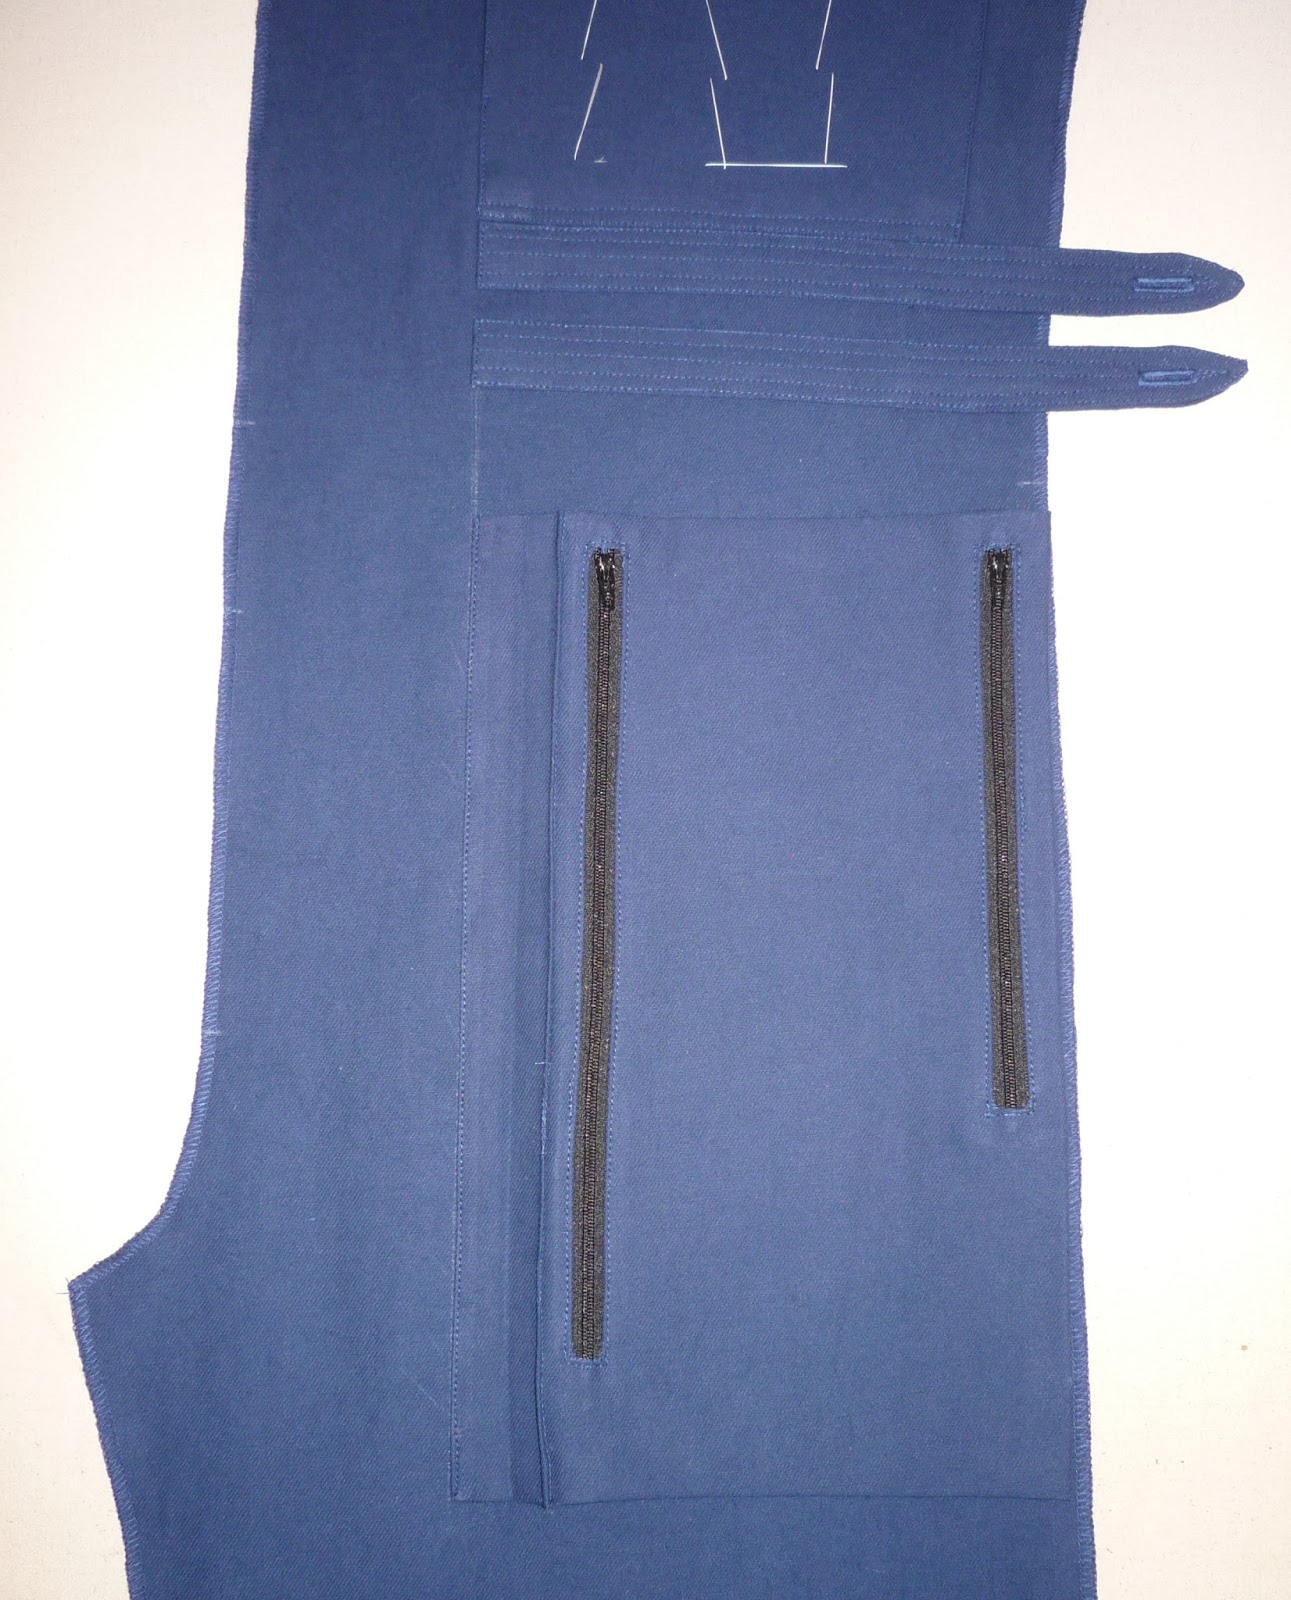
TIP: As we noted in our ENT jumpsuit analysis, the precise placement and height of the left thigh pocket zippers varied, but on our ENT jumpsuit pattern, the front zipper is positioned so its upper edge is ½" beneath the top edge of the pocket (1 ⅛" beneath the upper raw edge) and its centermost edge is ½" from the centermost edge of the pocket (2 ⅝" from the centermost raw edge). The back zipper's height and placement is the same as the right thigh pocket's zipper.
Press the pocket's hem allowances under.

TIP: We recommend pressing the upper and lower hem allowances under first, then the centermost and sides.
Next, press the centermost "expanding pocket" pleat by folding along the lines indicated on the printed pattern.

Keeping the centermost edge of the pocket folded, unfold the pleat underneath so there are only two layers of fabric (rather than four) at the center and edge stitch them together.
 |
 |
However you chose to vertically position your right thigh pocket, also do so with the left thigh pocket.
(In other words, if you positioned your right thigh pocket so its upper edge was 2" beneath the lower waist strap, position the left thigh pocket so its upper edge is 2" beneath the lower waist strap as well.)
Also, note that the left thigh pocket is taller than the right thigh pocket and will therefore extend lower!
Position the left thigh pocket onto the front body (piece B) so that its centermost edge is flush with the front alignment guide provided and its side edge is 1 ⅛" from and parallel to the raw side edge of the jumpsuit body.

Keeping the pleated fabric edge flush with the front alignment guide, carefully unfold the pocket by pulling it away from center.
Pin the pleated fabric into place (again, keeping the lower fold flush with the front alignment guide).

Edge stitch the lower folded edge of the pocket to the front body.
Fold the pocket back over to its proper position and pin into place around its perimeter.

TIP: Tailor-baste the pocket to the body to help secure the layers and prevent them from shifting and/or pulling while stitching.
TIP: Whip-stitch the centermost upper and lower corners of the pocket to the front body, with the upper fold slightly covering the lower (pleated) fold. This will help prevent any "peek-a-boo" from the lower (pleated) fold once finished.
As mentioned previously, the height of the "expanding pocket edge stitching" is largely a matter of personal preference, and we like to edge stitch the uppermost and lowermost 2" of our expanding pockets.
Regardless of your decision, we recommend consistently employing it on all the expanding pockets!
Beginning 2" above the centermost lower corner (or however high you prefer to secure your pocket) and ending the same distance above the centermost upper corner, edge stitch the perimeter of the right chest pocket to the body, reinforcing the stitching along the center edges and corners.

Lastly, horizontally topstitch through all layers ¼" from the upper and lower edges of the pocket.

You may now pull out the basting stitches if you'd like, but we prefer to leave ours in to keep the pocket flat during construction (only pulling out the whip-stitches at the corners).

Your front body panels should now look something like this.

PREVIOUS: Tutorial, part 6 - Right Thigh Pocket
No comments:
Post a Comment